How to design your event landing page in a flash?
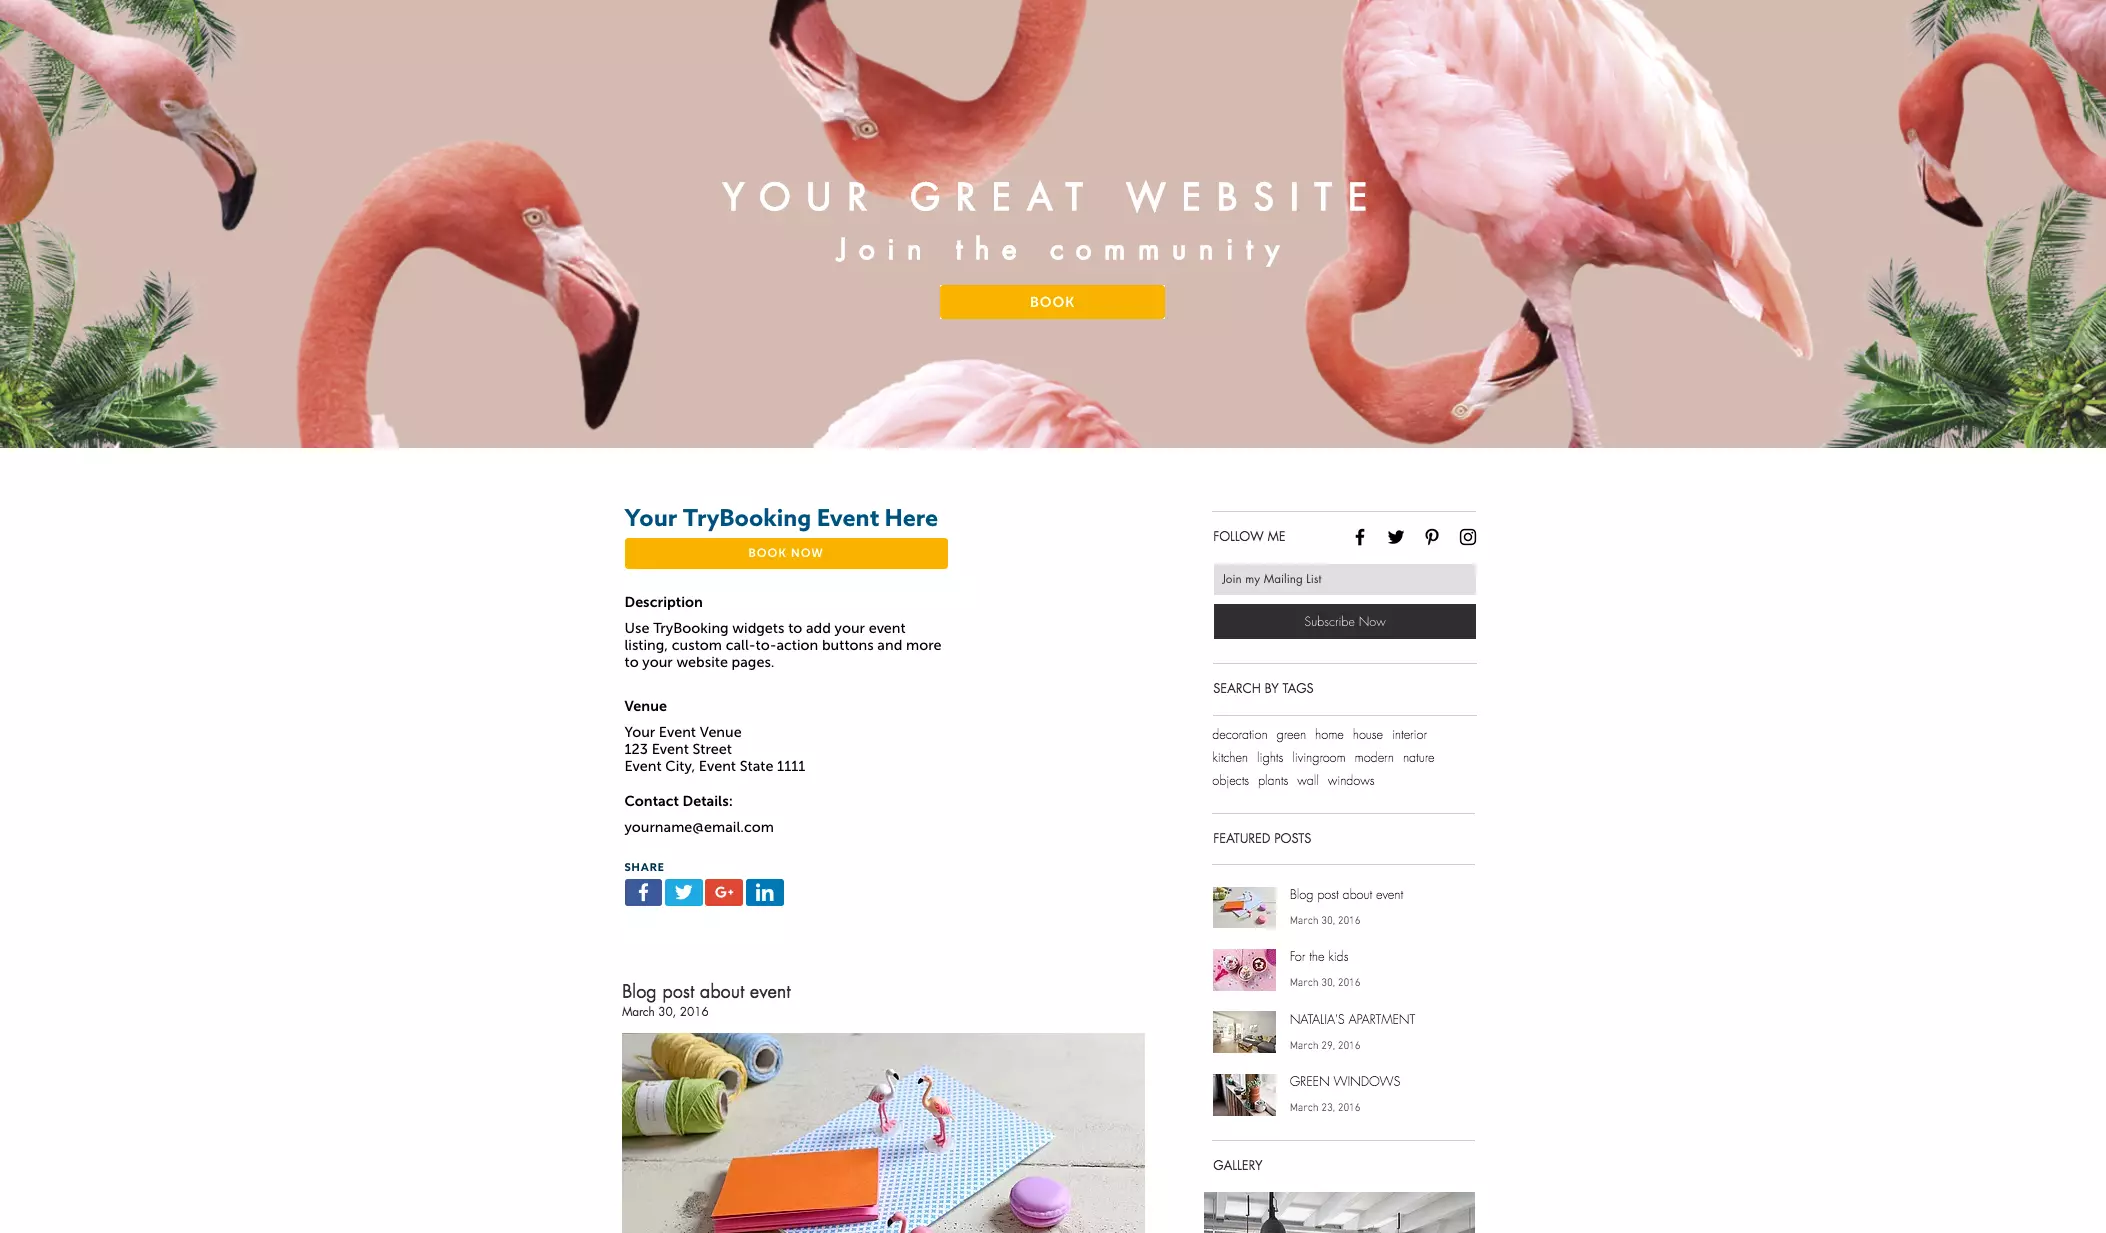
We've added some new features to the Event Homepage Editor, so that you can now design your event landing page in a flash. You can preview your page as you go, upload images from the Editor and keep your information consistent with event tags.
Images tab
The next time you log in and access your Editor, you'll notice that the link for your Event Homepage is now called "Homepage and Images".
This is because we've added a new Images tab to the Editor so that you can upload all your images whilst editing your Event Homepage text/links/descriptions from one place.

The Images tab also comes with some brand new image options that you can add to your event:
-
Hero Image
-
Wallpaper (background)
-
Search (thumbnail image shown in people's search results)
-
Up to 3 extra images for sponsor logos, footers etc.
These new image options will allow you to create a more visually engaging Event Homepage and more opportunities to display your own branding.
Give it a try - it's super easy and fun!
Event tags
In the Editor you'll also see a new option called Tags. Tags typically look like this: [EVENT_NAME] and they pull information from the fields you filled out as you created your event.

Event tags are enclosed in square brackets and automatically pull information about your event to display on the Event Homepage. Many tags will be added to your Event Homepage by default, but you can delete, rearrange or add more tags as you go.
For example, if you have filled out your contact details at the start of your event setup, the [CONTACT_DETAILS] Tag will automatically display that exact information directly to your Event Homepage, without you needing to re-type it.
Tags are extremely useful and save time because they pick up on any changes you make to your event and then update it on your Event Homepage. For example, when you go back to fix a typo in a certain field, a Tag will detect the change and automatically fix the typo on your Event Homepage as well.
You can add Tags for: Event Name, Hero Image, Search Image, Description, Session Time, Venue, Addresses, Contact Details, Social Buttons, Maps, Extra Images and Sessions.
Some of these Tags are loaded onto your Event Homepage by default, which you can keep or delete.
This means less steps for you, more consistencies in your Event Setup/Homepage and more time for you to focus on ticket sales.
Preview tab
We've also added a Preview tab to your Editor, so that you can review how your page will look on desktop, tablet and mobile before it gets published.
The preview gets updated with every little change you make, so you can avoid discovering mistakes or typos... after they've gone live. It will also show you what your Tags will look like once published.
Let us know your thoughts on the new features via Facebook, Twitter or send us an email at info@trybooking.com.
Also, stay tuned for our Event HomePage Design Post where we run through all the necessary steps in creating a clean, professional looking event!
Events made easy
The TryBooking Team

Why event insurance is important
Apr 04, 2017 · 2 min read
How to have Happier Event Guests?
Feb 14, 2017 · 2 min read
You might also like

How to Guide: Take Payments For A Bake Sale With TryBooking
Mar 05, 2025 · 1 min read
Introducing TryBooking Box Office App Tap to Pay on phone
Apr 01, 2024 · 1 min read
How To Market Your Event In 2024
Jan 15, 2024 · 1 min read
How To Run An Event In 2024 - Everything You Need To Know
Jan 03, 2024 · 1 min read
How to boost your branded event page
Sep 29, 2023 · 1 min read
How To Write Event Invitations That Get Results
Sep 08, 2023 · 1 min read
125 Unique & Fun Event Ideas For Your Next Event
Mar 20, 2023 · 1 min read
How to Create an Event Program
Mar 13, 2023 · 1 min read
10 Corporate Event Ideas To Ignite Some Fun At Your Office Party
Mar 17, 2023 · 1 min read


